LLORKH
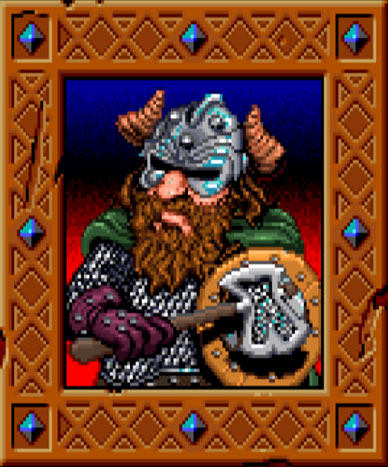
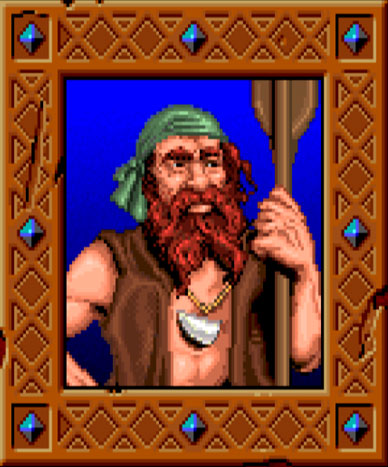
 1. Dwarves – Here the party encounters several friendly dwarves.
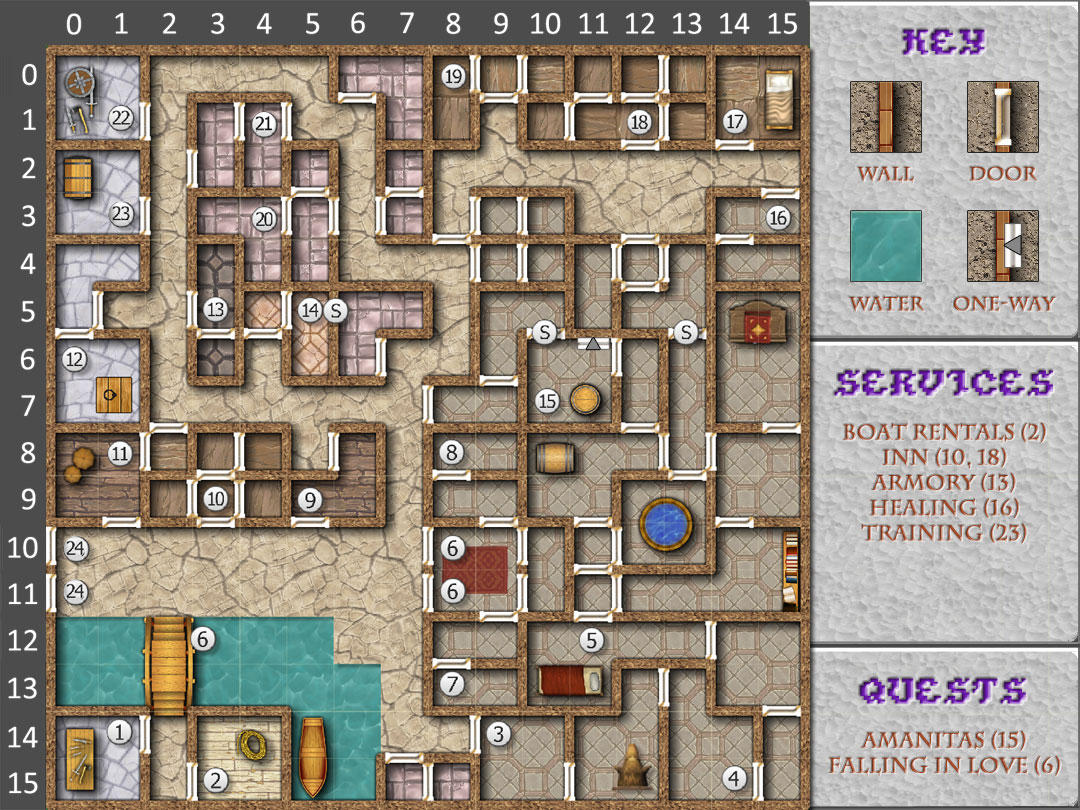
2. Downstream Boat Rentals – The shop is closed until river travel is safe-after the party has defeated Lord Geildarr.
3. Encounter – Lordsmen are enlarging an opening they have broken in a wall here, planning to launch a surprise attack against the dwarven leaders. They release griffons to help fight for their cause when they attack the party.
4. Encounter – Ettins and fighters are preparing to attackthe dwarven stronghold.
5. Encounter – The party comes upon ettins, driders, and Zhentil fighters sneaking quietly into the dwarven quarter.
6. Courtyard – This courtyard serves as the entryway to Geildarr’s Keep. When the party arrives in Llorkh many men and monsters are gathered here, standing guard before the stairs down into the Keep. As other areas are cleared, reinforcements leave the courtyard to try to retain the Zhentarim hold on the city, leaving fewer men and monsters to defend the Keep. Attack here only after the party has helped the dwarves eliminate the Lordsmen and Zhentil fighters from the rest of the city.
NOTE. Be sure to read ‘Falling in Love’ on page 4 of this book before descending the stairway.
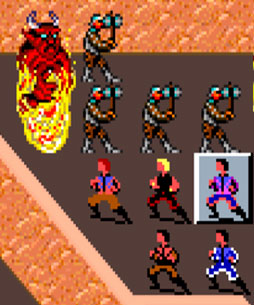
7. Alarm – An image of Lord Geildarr confronts the party here, but vanishes as soon as anyone swings a weapon. This sets off an alarm. The next step the party takes will trigger an attack by efreet and driders.
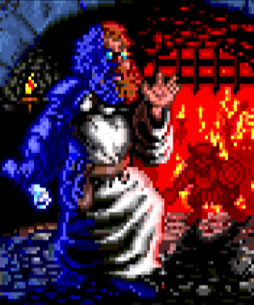
8. Illusion – Here the party is met by an illusion of an evil enchantress. It vanishes when the nearby Lordsmen and efreet attack.
9. Encounter – Ettins and Lordsmen have cornered some dwarves in this run-down tavern.
10. The Inn of the Lucky Caravan – The party can rest here safely.
11. Encounter – Dwarves are under attack by Lordsmen and griffons here.
12. Encounter – Evil harpies occupy this room. The party will hear their beautiful singing from outside, but be prepared for a fierce battle.
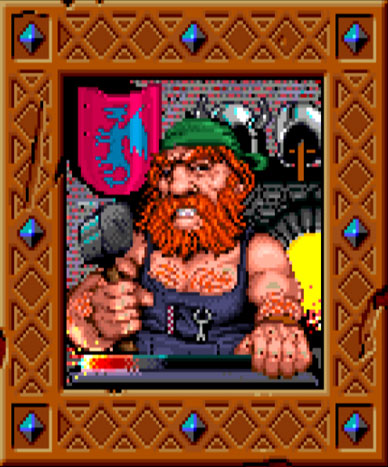
13. The Gentlemen’s Armory – The party can purchase weapons and armor here..
14. Encounter – The dwarves have destroyed this temple of Bane, but a few worshipers – Banites and driders-linger before the great statue of the evil god.
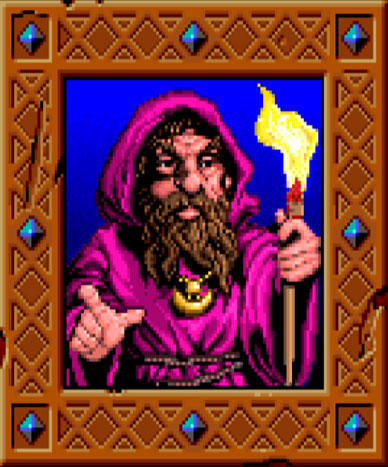
15. Game Start – This is where the party begins the game, summoned by Amanitas’ spell. This is the heart ofthe dwarven-held portion of Uorkh. Amanitas and Milzorr, the leader of the dwarves, will welcome them and tell about the rebellion against the Zhentarim.
16. Healing – This is a Temple of the dwarven god Dumathain.
17. Encounter – Occupying this closed and deserted tavern are Lordsmen and griffons.
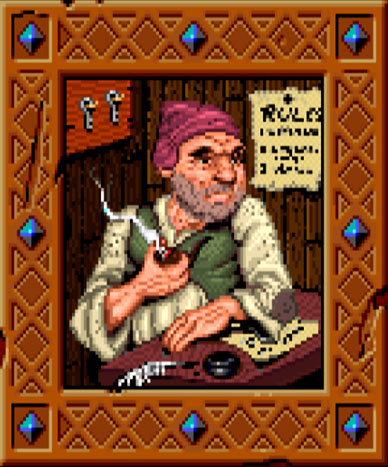
18. Inn – A simple man runs a simple inn here – The party is welcome.
19. Encounter – Driders occupy this dark chamber.
20. Encounter – A single Zhentarim, apparently some kind of healer, has encamped here to help two wounded soldiers. If the party does not attack, he will pass along some useful information.
21. Encounter – In this room Lordsmen are peering up at driders in their webs. Both men and monsters attack when the party enters.
22. Encounter – Lordsmen and griffons occupy this old tower.
23. Hall of Training.- The party can level up here.
24. The main gates of Llorkh.- The dwarves have barred the gates in an effort to prevent Zhentil refugees from the Battle of Ascore from straggling in. They have also barred them to prevent the party from leaving. They must go into the Keep, find Lord Geildarr, and destroy him before they can leave the city.
 Synopsis: Llorkh is a battle-tom city. The dwarves are fighting for their liberation, and the forces of Zhentil Keep are fighting to retain their last stronghold in the Savage Frontier.
Lord Geildarr rules Llorkh with magic and cruelty from deep within the Keep, a stronghold that includes a small dungeon. The party must defeat the Zhentil forces in the town, then descend into the Keep, locate the evil mage Geildarr, and destroy him.
New Zhentarim troops are straggling in from their disastrous defeat at Ascore, and dwarves are coming from the nearby mountains and hills to support the rebellion as well. In the middle of many battles, one or both sides will receive reinforcements that may alter the balance of
power in the fight.
The order in which you fight the battles in Llorkh is important. The force guarding the Keep is very large, so the party must defeat the Zhentil troops and Lordsmen elsewhere in the city before attempting to enter the Keep. This will reduce the number of guards, since many of the men and monsters will leave to try to reinforce the portions of the city you are liberating.
Resting: The party can rest safely in the inns and in the portions of the city under the dwarves’ control. They can also rest in the entryway of the Keep after it has been cleared.
Wandering Monsters: None.
 Objective: Defeat Lord Geildarr and his Zhentarim supporters that are attacking this Dwarven city. These are the remnants of the Zhentarim army from Gateway to the Savage Frontier. Lord Geildarr is located in the keep below the city east of Event 6.
Experience: There is plenty of experience here. Make sure to search each area and engage all encounters. Most of the battles here are straight-forward, although the Driders can cast Fire Shield which can be deadly to melee fighters. There are few magic-users here.
Quests: This is a continuation of the plot explored in Gateway to the Savage Frontier. After the city is liberated, the main plot will begin.
Leaving: After clearing out Llorkh and Lord Geildarr’s keep below the city, train your characters then head west to Loudwater.
 Llorkh was originally founded by Netherese refugees fleeing the downfall of Netheril, sometime after its fall in the Year of Sundered Webs, −339 DR. The neighboring settlement of Loudwater was founded around the same time.
Later on, further settlement of Llorkh and Loudwater, as well as Longsaddle, Secomber, Triboar, and others, was undertaken by pioneers from Waterdeep after the establishment of the Lords of Waterdeep there in 1032 DR. These pioneers were sponsored by noble and mercantile Waterdhavian families.
Llorkh grew to become a sleepy mining town, its people busy working mines in the nearby hills and farming the surrounding land. The town was led by a series of lords, well-respected, retired miners and warriors. However, production soon started to wane and Llorkh began to dwindle. Only stubborn miners and many sheepherders were expected to remain.
1 – City Guard
|
2 – Inn
|
3 – Temple
|
||
4 – Armory
|
5 – Boat Rental
|
6 – Hall of Training
|